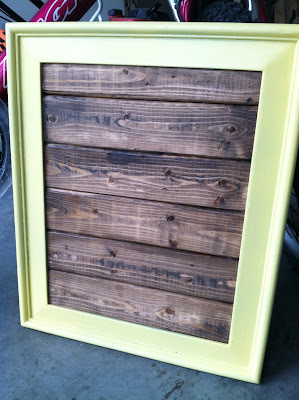
How to Make a Framed Wooded Sign
Although it seems intimating it's actually pretty easy.
There are the supplies needed:
- 1x4 Wood
- Saw
- Spray Paint (for Frame)
- Sanding Block
- Wood Glue
- Wood Stain (unless your wood is already the color you want it.)
- Acrylic Paint
I used Krylon Spray Paint; It did well but you can try any brand you want. Just make sure it's something that will stick! And I stained my wood with a Dark Walnut.
The Frame was an old Wooden Frame I had lying around. I had tried to do something with it before- Bad Pinterest idea gone wrong. lol. So I had to sand the paint down so I could actually work with it.
First Go ahead and Spray your frame. Let it Dry and recoat if needed.
Next you will need to measure the inside of your frame. See how long your wood needs to be. And don't worry if your cutting isn't the straightest its ok. As long as it sits on the little notches the frames have you can use wood glue and filler to fill in any gaps.
After you have your wood cut Stain it. Let the stain dry over night. After it's dry you can sand and distress the wood if you like. Then use your wood glue and glue those jokers to the inside of the frame.
When I was cutting the wood I noticed that I didn't have enough room using my 1x4. I measured and just cut a skinny piece of wood. It was not perfect. But the filler and glue helped fill the gap.
My OCD kicked in and I had to stain the back :)
Here is the Front :
Now you can Paint anything you like in your Framed Wood sign. After all was said I distressed my frame just a little and sprayed a sealer over my acrylic paint. The Kids Loved it!
Be creative and have fun


No comments:
Post a Comment